Monoprinting is a form of printmaking that has images or lines that can only be made once, unlike most printmaking, where there are multiple originals. There are many techniques of monoprinting. Examples of standard printmaking techniques which can be used to make monoprints include lithography, woodcut, Gelli Art Plate, and etching. A monoprint is a single impression of an image made from a reprint able block, but with the Gelli Arts plate, stamping and "ghost prints” are also an added addition to the traditional mono printing process.
The beauty of this medium is also in its spontaneity and its combination of printmaking, painting and drawing media. With this process, no two prints are alike; although images can be similar, editioning is not possible. Each piece is original.
This is a mixed media piece where I’ve created a background using templates of dots and the inside of torn apart cardboard. The print dries quickly when you use acrylic paint so you need to work quickly. Etsy shop
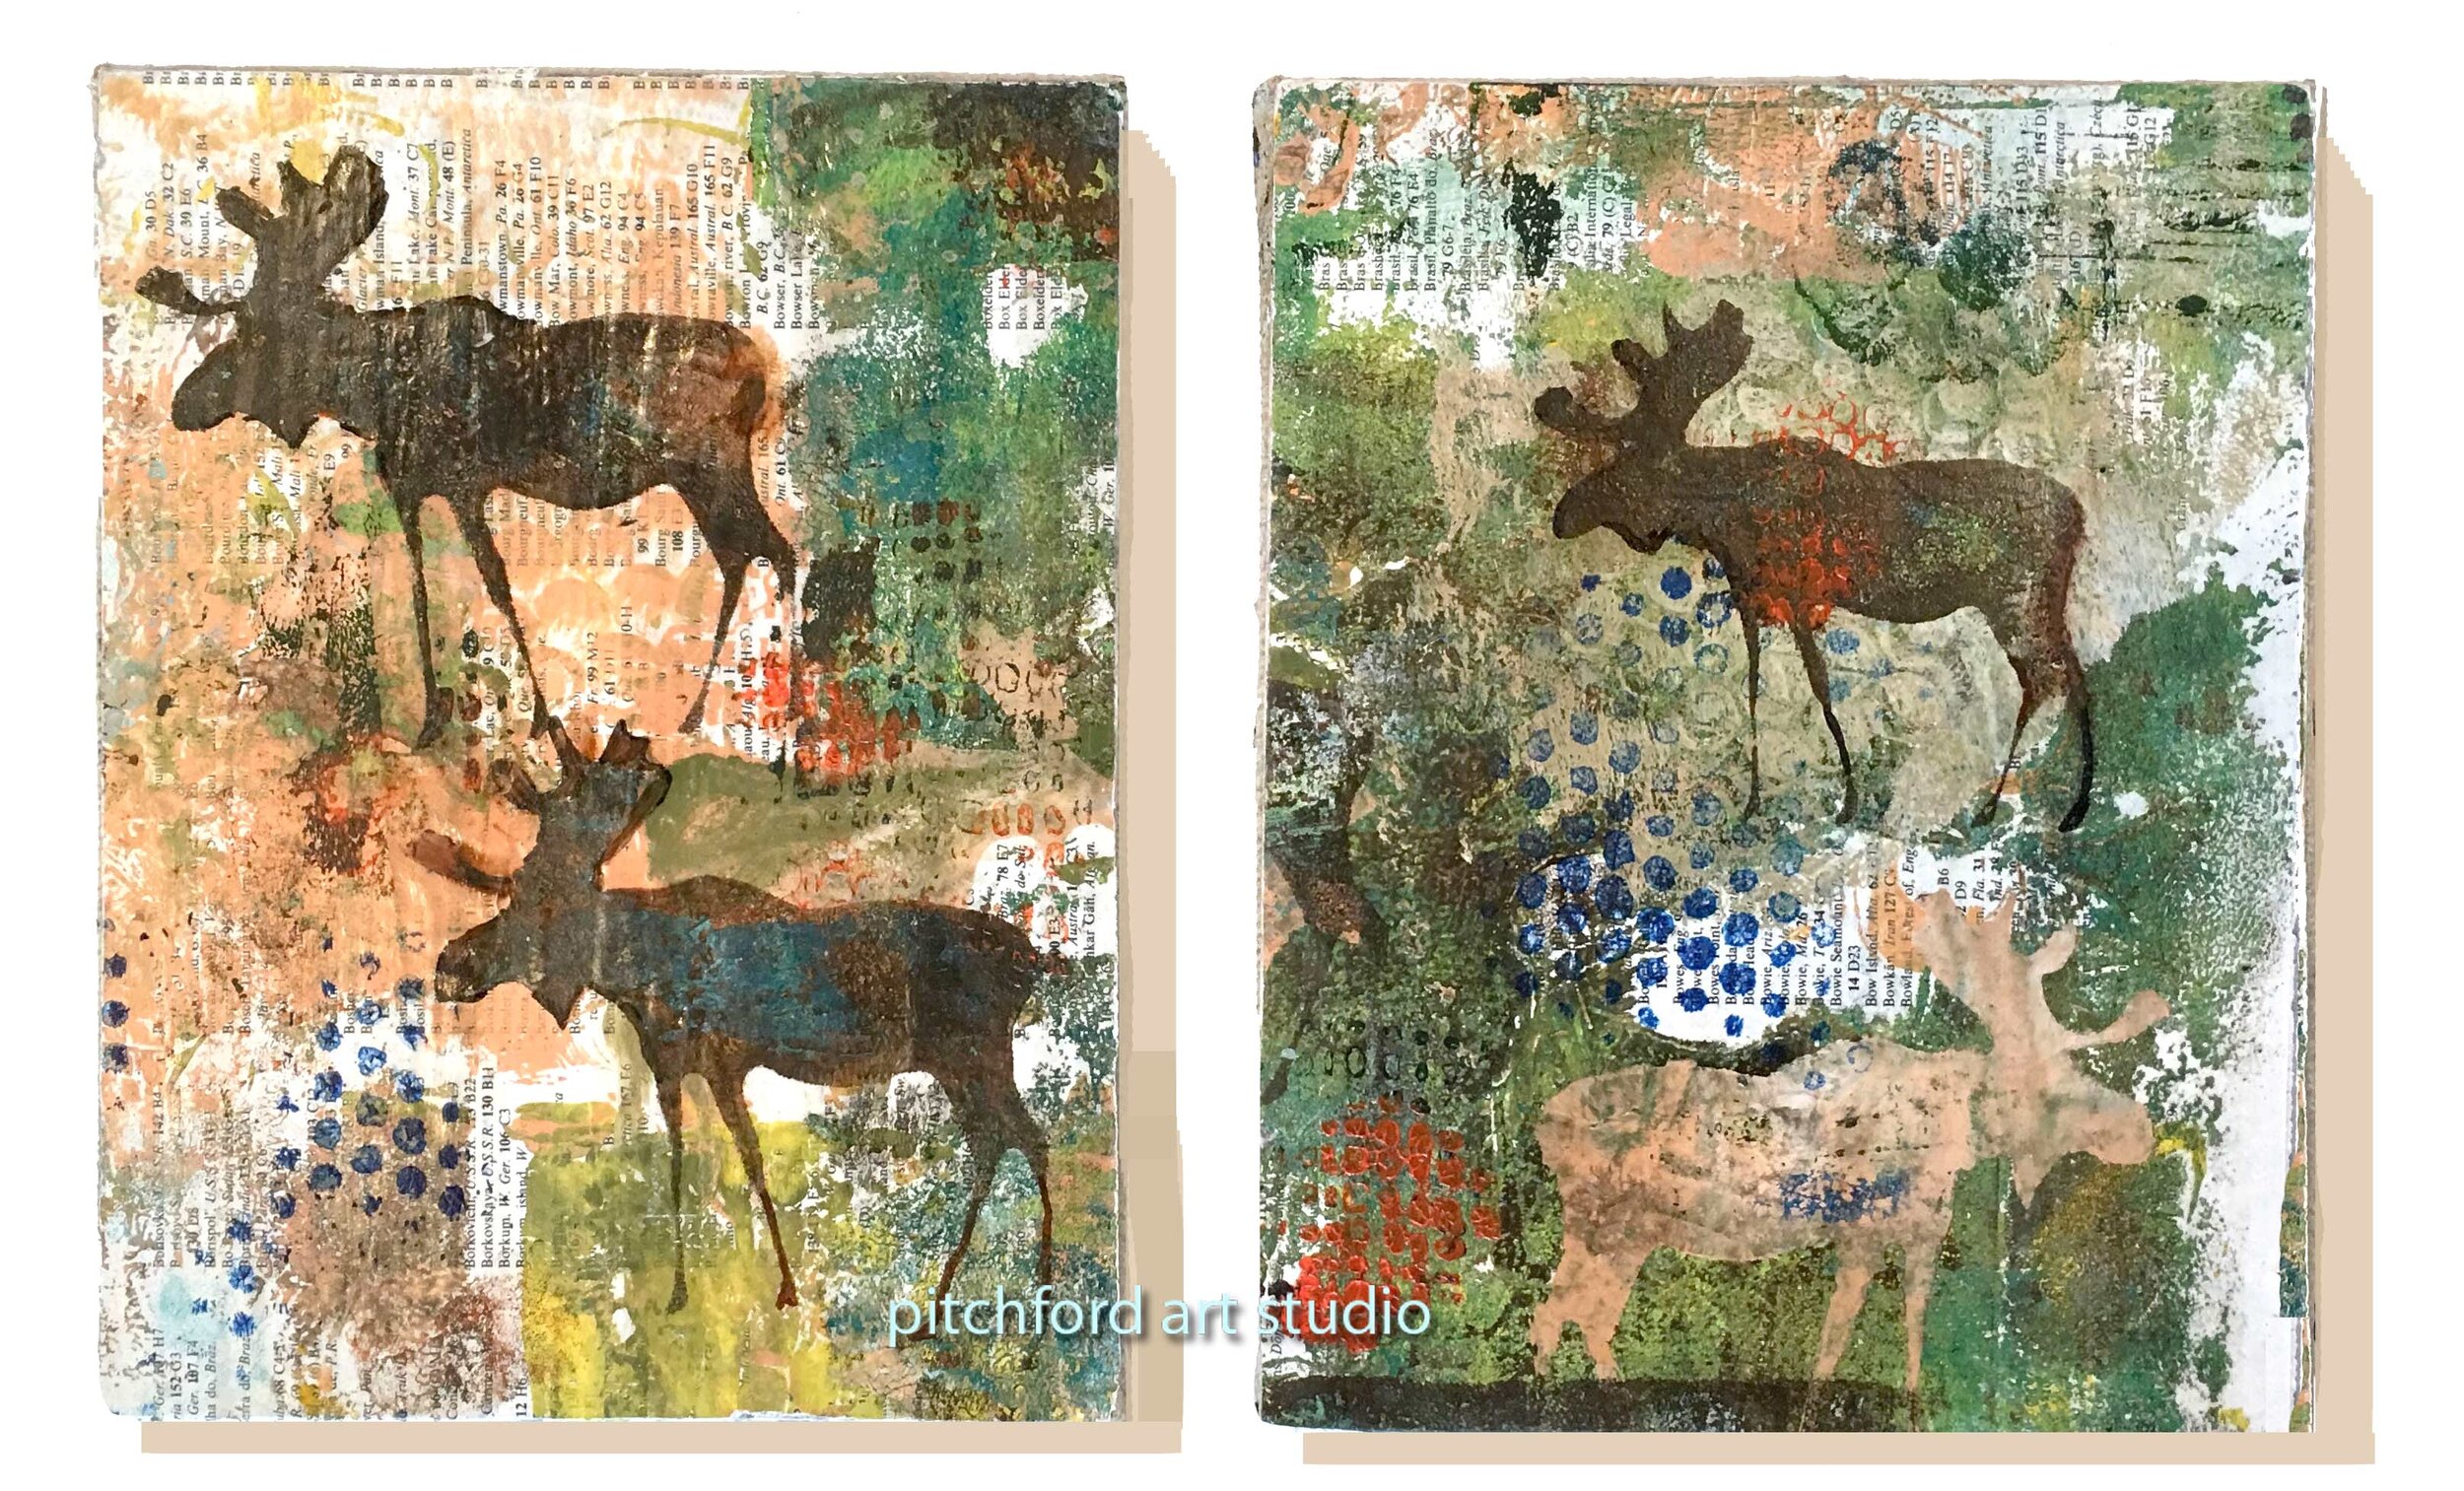
Moose on dictionary paper- Mixed media - mono print, ink
Brayer to roll out the paint
1 - old rolling pin with strips of foam in various widths glued onto it. 2- paint foam roller. 3 - brayer with foam wrapped around it. 4 - foam paint roller with the foam cut into three pieces and slid back onto the roller. 5 - brayer with cord twisted around it. 6 - brayer. 7 - small foam roller.
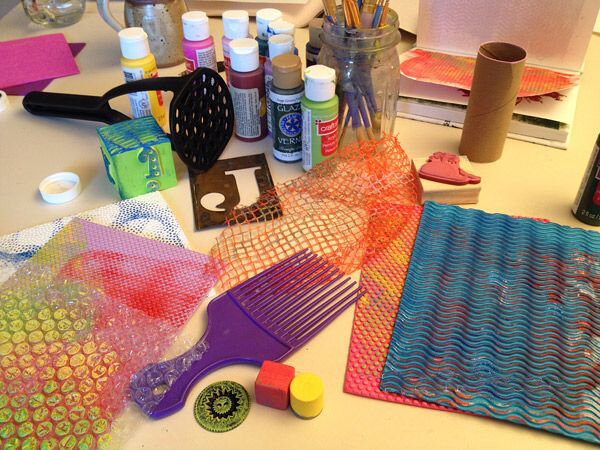
So many different material can make unusual and interesting marks on you rolled out paint. For instance wide toothed comb, empty toilet roll, potato masher, templates, vegetable wrapper, styrofoam dots…. Be creative!!
Here are some tips and tricks I've learned while using the Gelli plate.
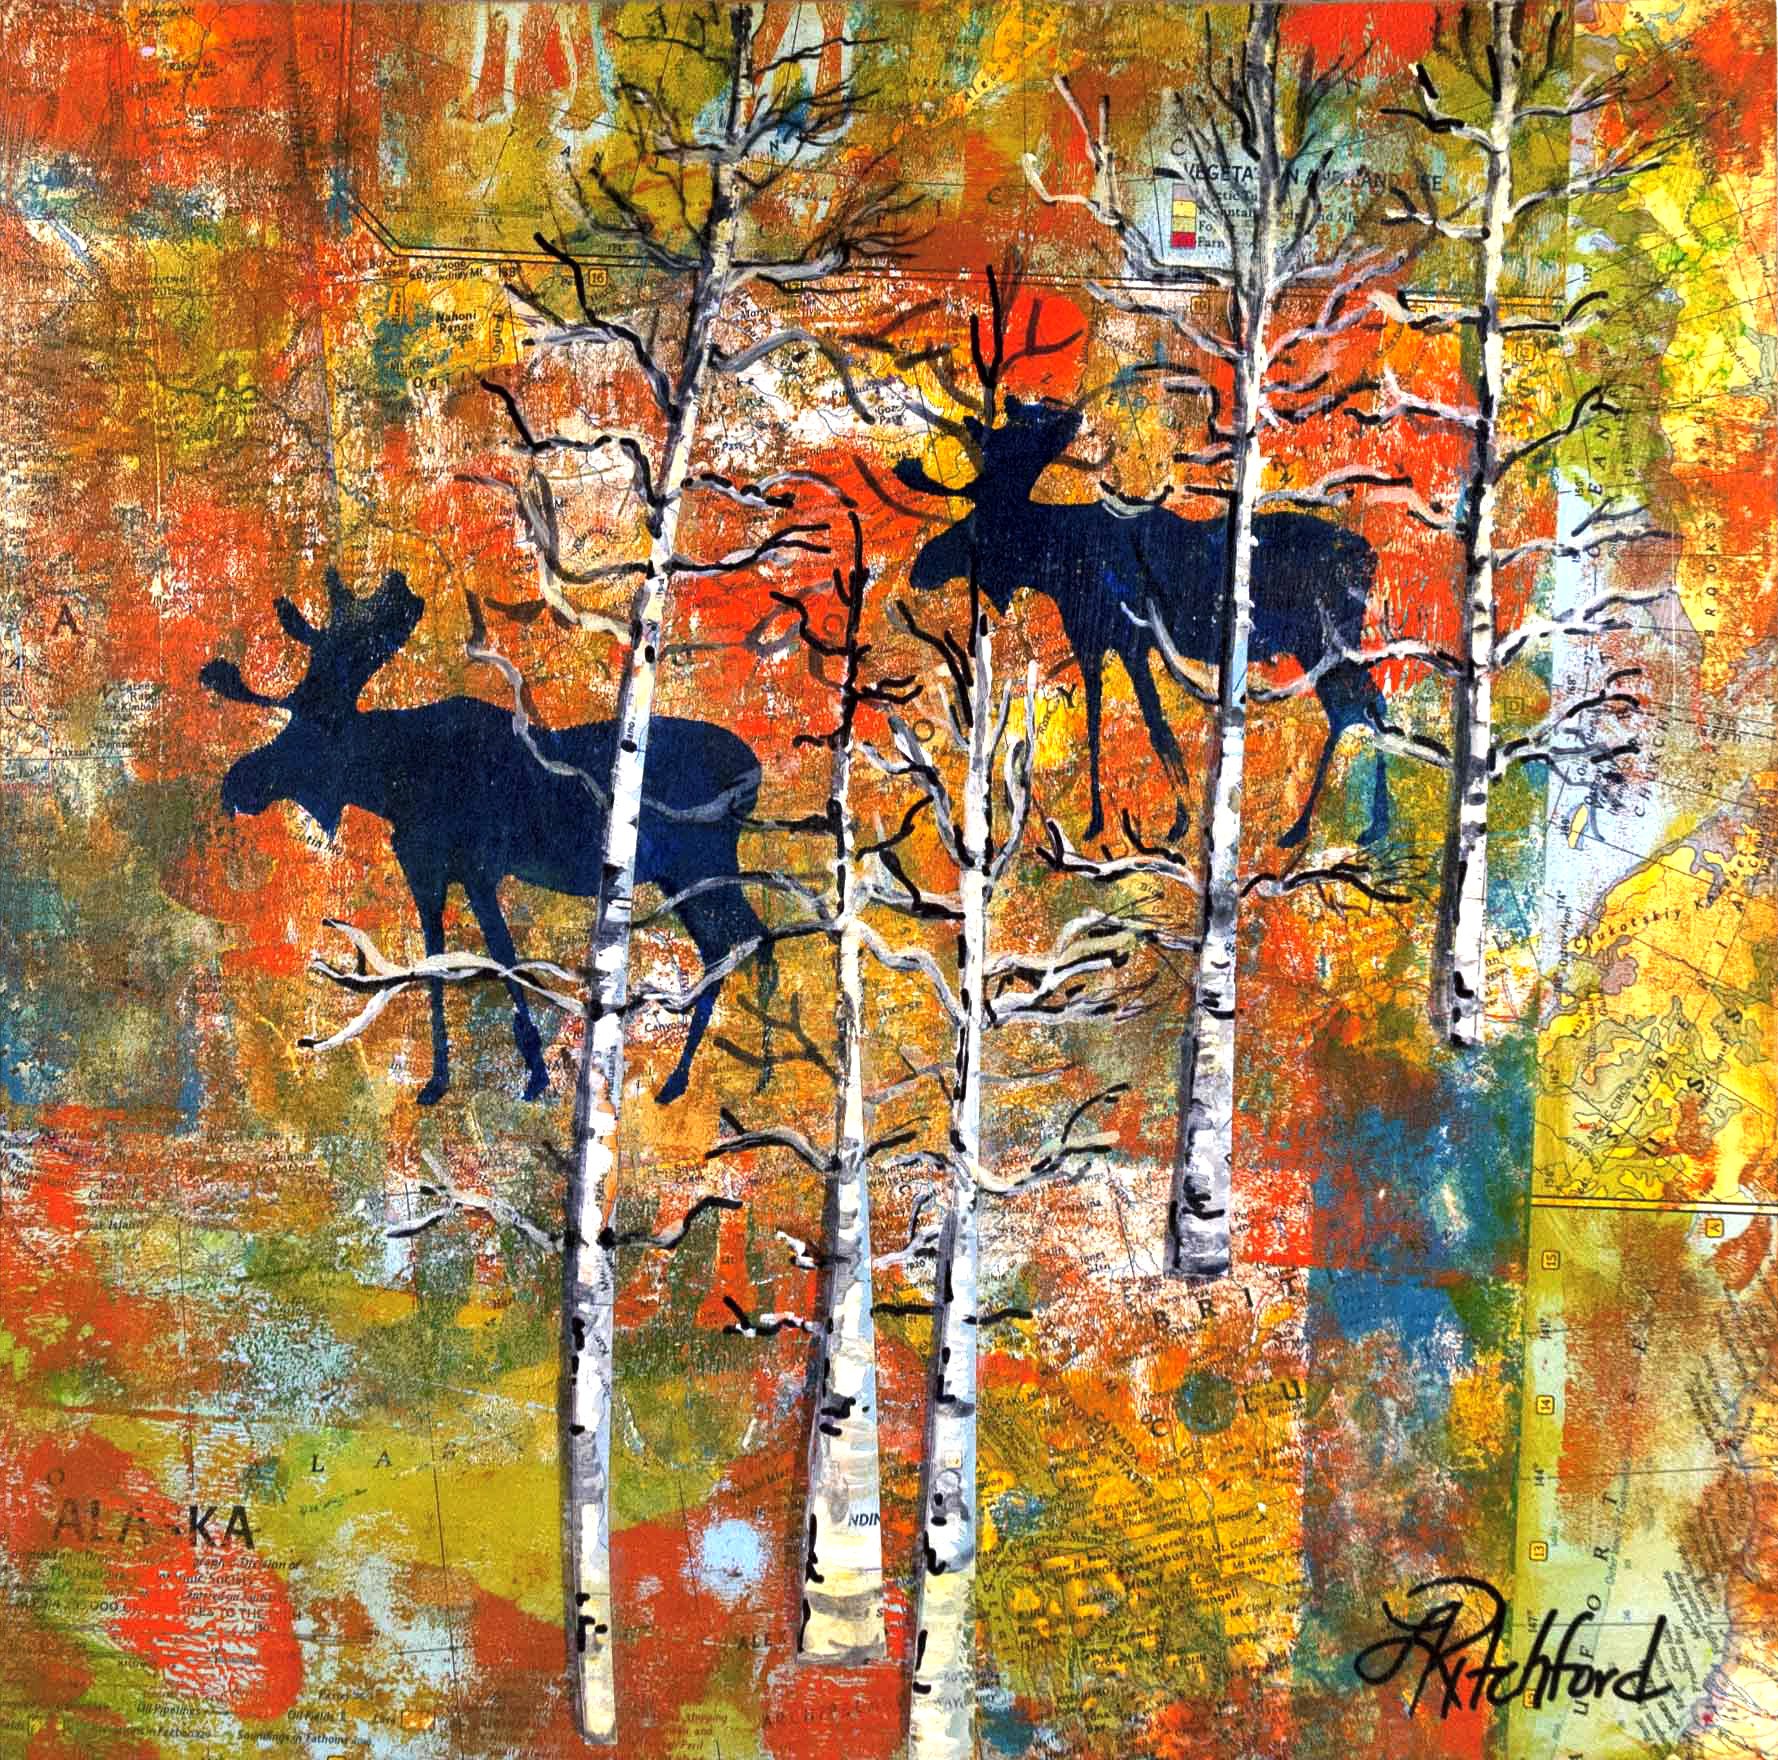
Moose on map gelli prints
#1 - The best tip I can recommend is to take good care of your Gelli plate. READ the instructions and follow care instructions carefully and the Gelli plate will last for years. You can purchase the Gelli Plates at most crafts stores. I’ve found them at Micheals, Joanns, Blick Art Supplies and online. Gelli Arts cautions not to use any glossy paper stock, including photo paper. It can stick to and damage the surface of the gel plate. In addition, the gel printing plate has an extremely sensitive surface and will imprint any texture it is siting upon. It is recommended to always keep your gel printing plate laying flat on a smooth, flat, nonporous barrier such as a Teflon baking sheet, baking tray or piece of glass. I simply use the sheet of thin, rigid plastic that came with the Gelli Plate. Read the instructions from your Gelli plate. Your Gelli Arts plate can be expensive to replace especially if you have the larger 12 x 14" which is roughly $62.99.
#2 - The substrate matters. (substrate is the base material onto which images will be printed). Paper (lightweight, heavyweight, coated, uncoated, paperboard, cardboard, etc.) including parchment. You can also use fabric, foils and wood. I've found a medium weight paper around 120 lbs hold up well and can be used in other projects like collage or jewelry. But the parchment papers transparent quality make amazing and interesting collage additions as well. The exciting part of mono printing is the experimentation because even with careful planing your will always get surprises and most are happy surprises as in the mono-print below.
Paper
Hollander carries a wide selection of papers coated and uncoated (surface coat is added). Coated papers can often resist paint but don't simply discount this paper if you have it on hand. It's just needs to dry a little more between coats of paint. The surface may have more sheen as well and doesn't really work with the Gelli Arts plate. It can also possible damage the surface so I recommend starting with computer paper or card stock as you learn and then graduate to printmaking paper. Our local craft and art stores carry the heavy Bristol paper and Staples #110 Cardstock for an economical heavy paper is another great choice. Rives BFK (about $7.50 a sheet) or Rising Stonehenge ($3.25 for 22" x 30") are excellent printmaking papers for fine prints. For collage, I love using deli paper (here's a blog that has images of prints on deli paper. I found Costco carries dry waxed paper sheet in bulk and they work very nicely. Also here (dry waxed paper). The deli paper is wonderful for it's thin, translucent properties. Paper is such an individual preference, and your end purpose will be a factor in your paper choice but I would note that a smooth-surfaced paper gives a more detailed print.
Fabric- Gelli printing is perfect for monoprinting on fabric. Tight-weave fabrics, such as PFD cotton and muslin, give great results.
Paint
Acrylic paint is stellar for gel printing! Although a little warning that it dries quickly and forces you to make quick decisions about pattern. I recommend sorting out your templates and mark making tools in advance of rolling out the paint. Laying the paper on top of the design, pressing with your hands to make the design stick to the paper and then and pulling it off the plate is quite exciting but if the paint dries to much before this effort is accomplished the paint won't all adhere to the paper. However, do despair too much because you can spread more paint thinly and bring up a ghost print of the previous design. That can often be where the gel prints are the most interesting.
Liquitex Basic acrylic paint has a great color selection and is relatively inexpensive. Some of the colors are more saturated than others like the Quinacridone Magenta which runs about $4.49 for one and for 3 or more $3.44 in a 4oz tube at Blick Art Supply. I've also found a variety of paints in the clearance section at my craft store that are priced around $.25 for a small 2oz tube. Sometimes they need to be revived with a little water as the paint has sat a little too long and has started to coagulate. At those prices the paint can be a wonderful source of experimentation as you can mix the colors to create additional shades.
The creative and fabulous artists at Gelli Arts have made some wonderful video instructions and I've included the one above that creatively uses the smaller Gelli plate in the 3" x 5" size for stamping $11.69 at Blicks.


